5 DIY Indoor Halloween Decor Ideas With Step-by-Step Instructions
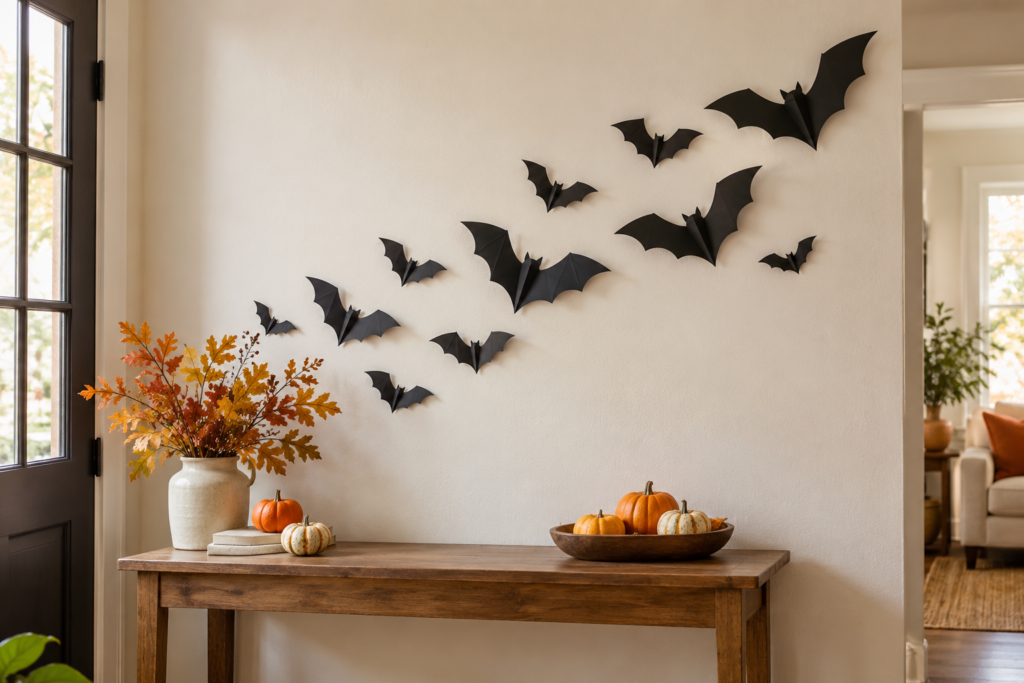
You do not need to decorate every corner to make your home feel ready for Halloween. A flight of paper bats, a friendly ghost garland or a few glowing jars can turn an ordinary shelf into a seasonal display. These five DIY indoor Halloween decor ideas use simple craft supplies and work in living rooms, entryways and small apartments.
Choose one project for a quick update, or repeat the same colours across several projects for a coordinated look. Classic black and orange feels playful; cream, lilac and peach creates a softer Halloween palette.
The images below are AI-generated styling examples of the finished projects.
1. Make a paper bat wall above an entry table
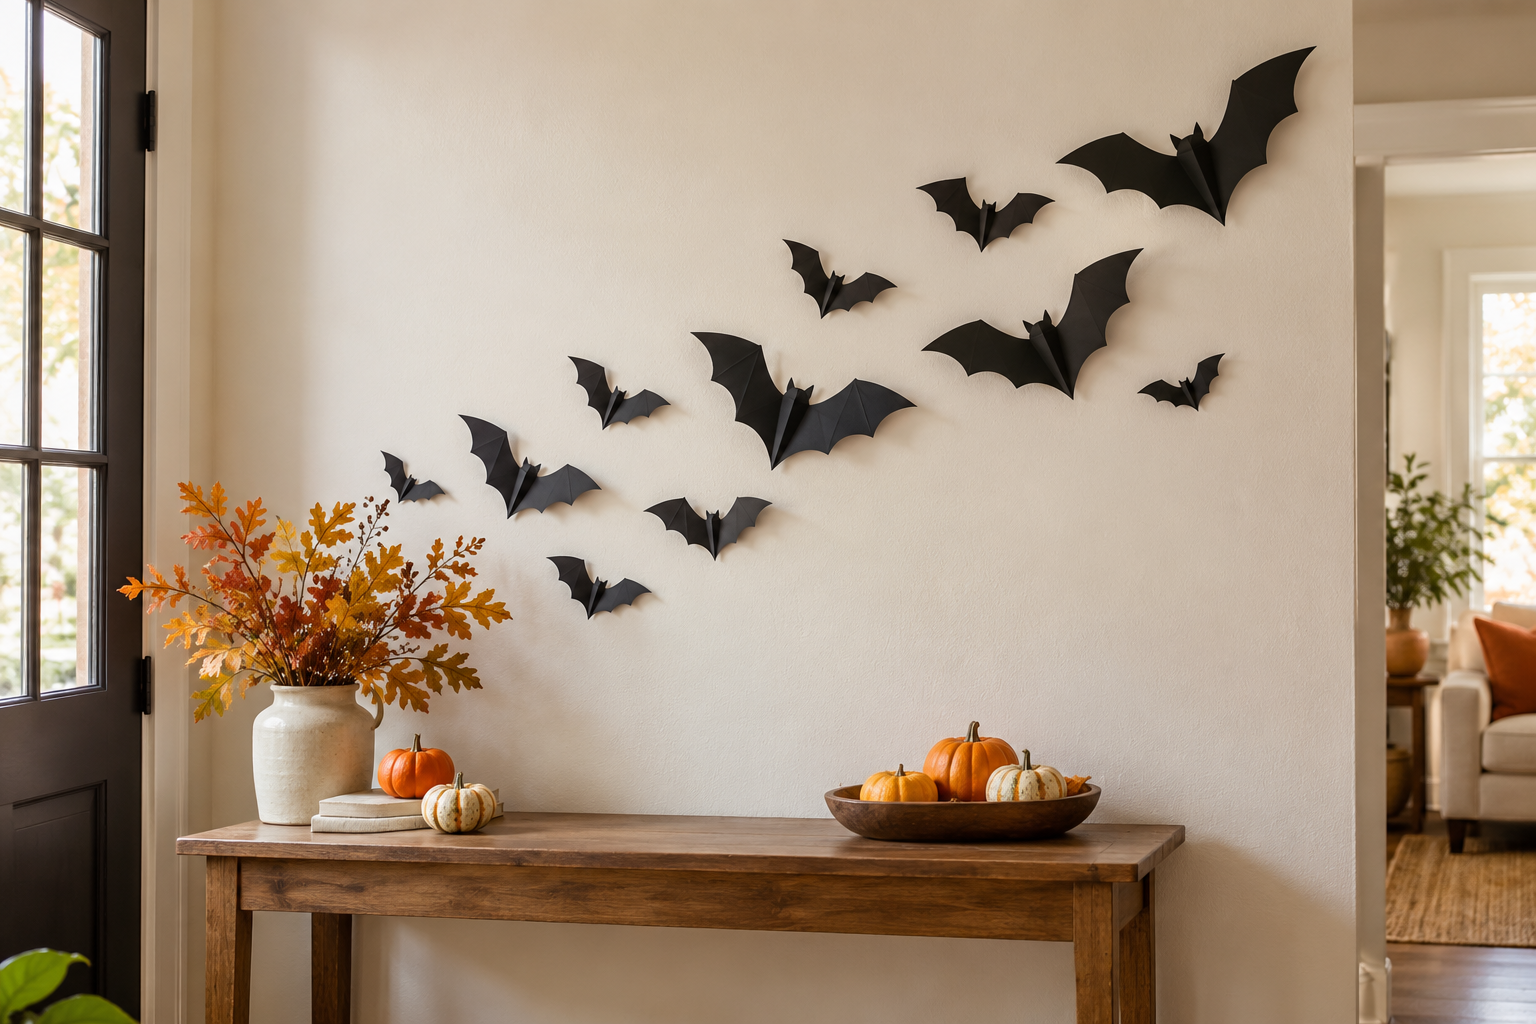
This is a good starting point if you want a noticeable decoration without using floor space. Keeping the bats in one loose curve makes the wall look intentional rather than crowded.
Supplies: Black cardstock, scrap paper, pencil, scissors and removable adhesive suitable for your wall finish.
Step 1: Draw a reusable bat template
Fold a piece of scrap paper in half. Along the folded edge, sketch half a bat: a small pointed ear, a short body and a wing with three curved sections along its lower edge. Cut around the outline while leaving the fold intact. Unfold it to check that both wings match.
Step 2: Cut bats in three sizes
Trace your template onto black cardstock. Make roughly 8, 12 and 16 cm wingspans, with three or four bats in each size. Cut them out and gently crease each bat along its body so the wings lift away from the wall.
Step 3: Plan the arrangement before attaching
Lay the bats on a table in a loose upward curve. Put larger bats near the lower end and smaller ones near the top. Leave a little space between them so each outline remains visible.
Step 4: Build the flight on your wall
Test the removable adhesive in an inconspicuous area and follow its instructions. Attach each bat by its centre, leaving the wings free. Step back after adding a few bats and adjust the spacing before completing the curve.
Styling tip: Add two small pumpkins to the table underneath. If wall adhesive is unsuitable, attach the bats to a large freestanding board instead.
2. String a friendly paper ghost garland
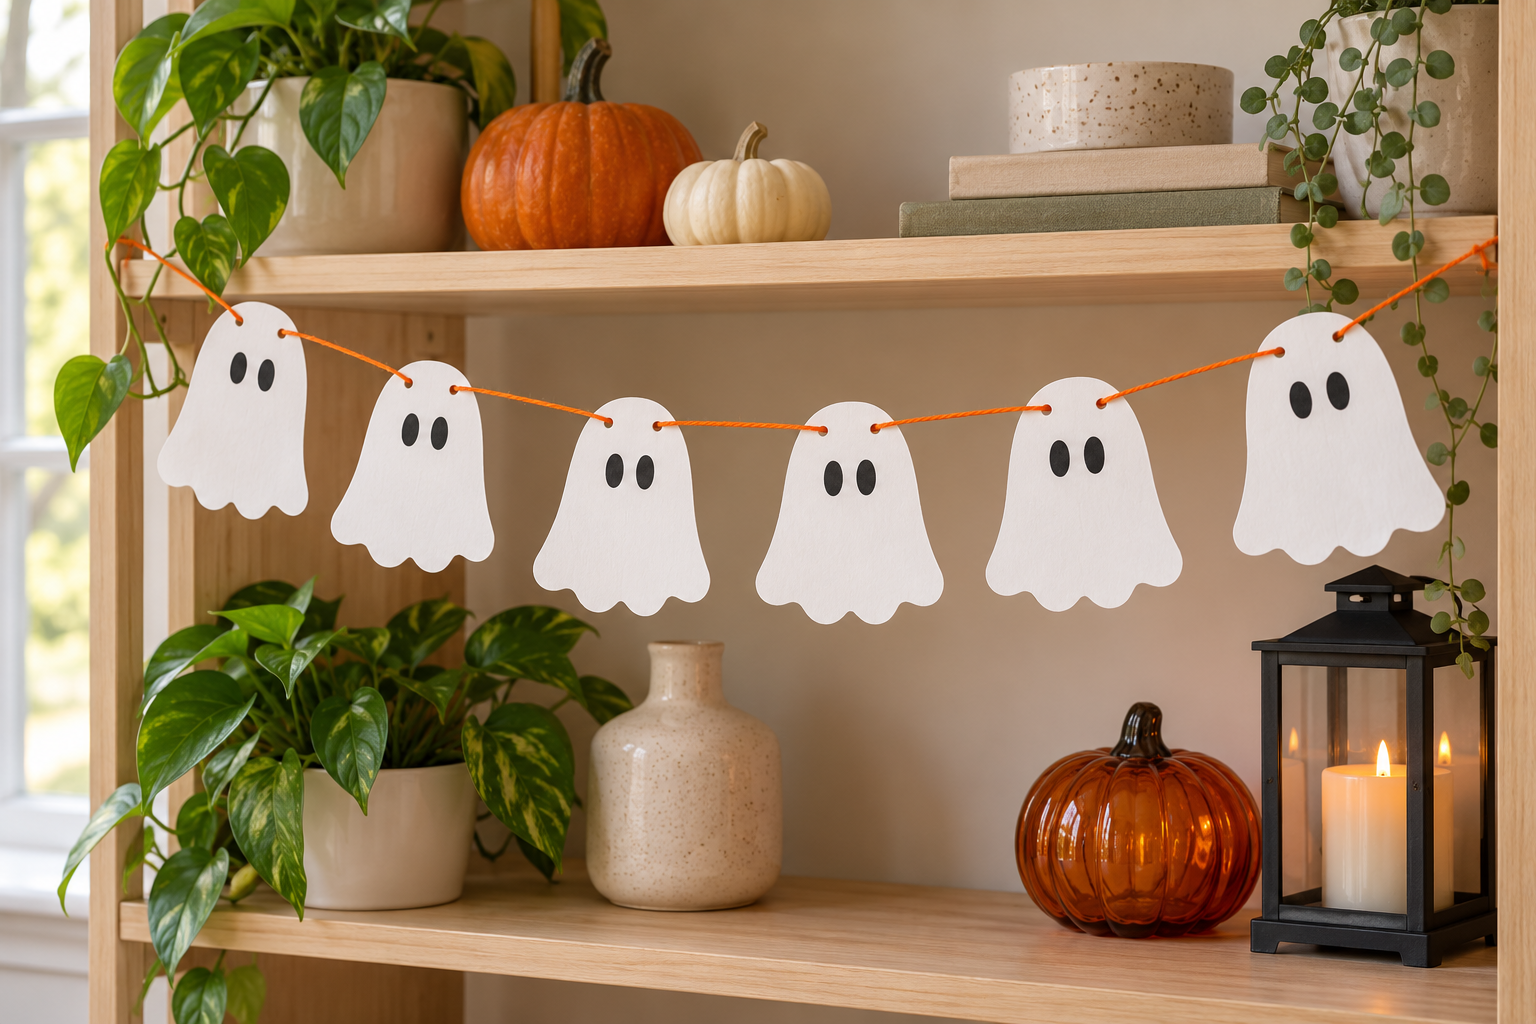
A ghost garland adds a playful detail to a bookshelf or a party backdrop. Use thick paper so the ghosts hang neatly instead of curling at the edges.
Supplies: White cardstock, black paper or a black marker, scissors, a hole punch, a glue stick and about 1.5 metres of cotton twine.
Step 1: Cut six ghost shapes
Draw a rounded head that widens into a body with a wavy lower edge. Aim for a height of about 12–15 cm. Cut out one ghost, then use it as a template for five more.
Step 2: Add the faces
Cut two small black oval eyes for each ghost and glue them near the top. Alternatively, draw the eyes with a marker. Keep the faces simple so they can be seen from across the room.
Step 3: Thread the garland
Punch two holes near the upper corners of each ghost, about 1 cm from the edge. Thread the twine through both holes so each ghost faces forward. Leave approximately 5–8 cm between ghosts and enough spare twine at both ends for tying.
Step 4: Hang and balance it
Secure the garland across a shelf with suitable hooks or ties. Adjust the spacing until it forms a shallow curve. Keep it away from candles, heaters and places where children or pets could pull on the cord.
Styling tip: Orange twine creates contrast; lilac ribbon gives the same project a softer party look. Use battery candles if you want lighting nearby.
3. Turn empty jars into glowing mummy decorations
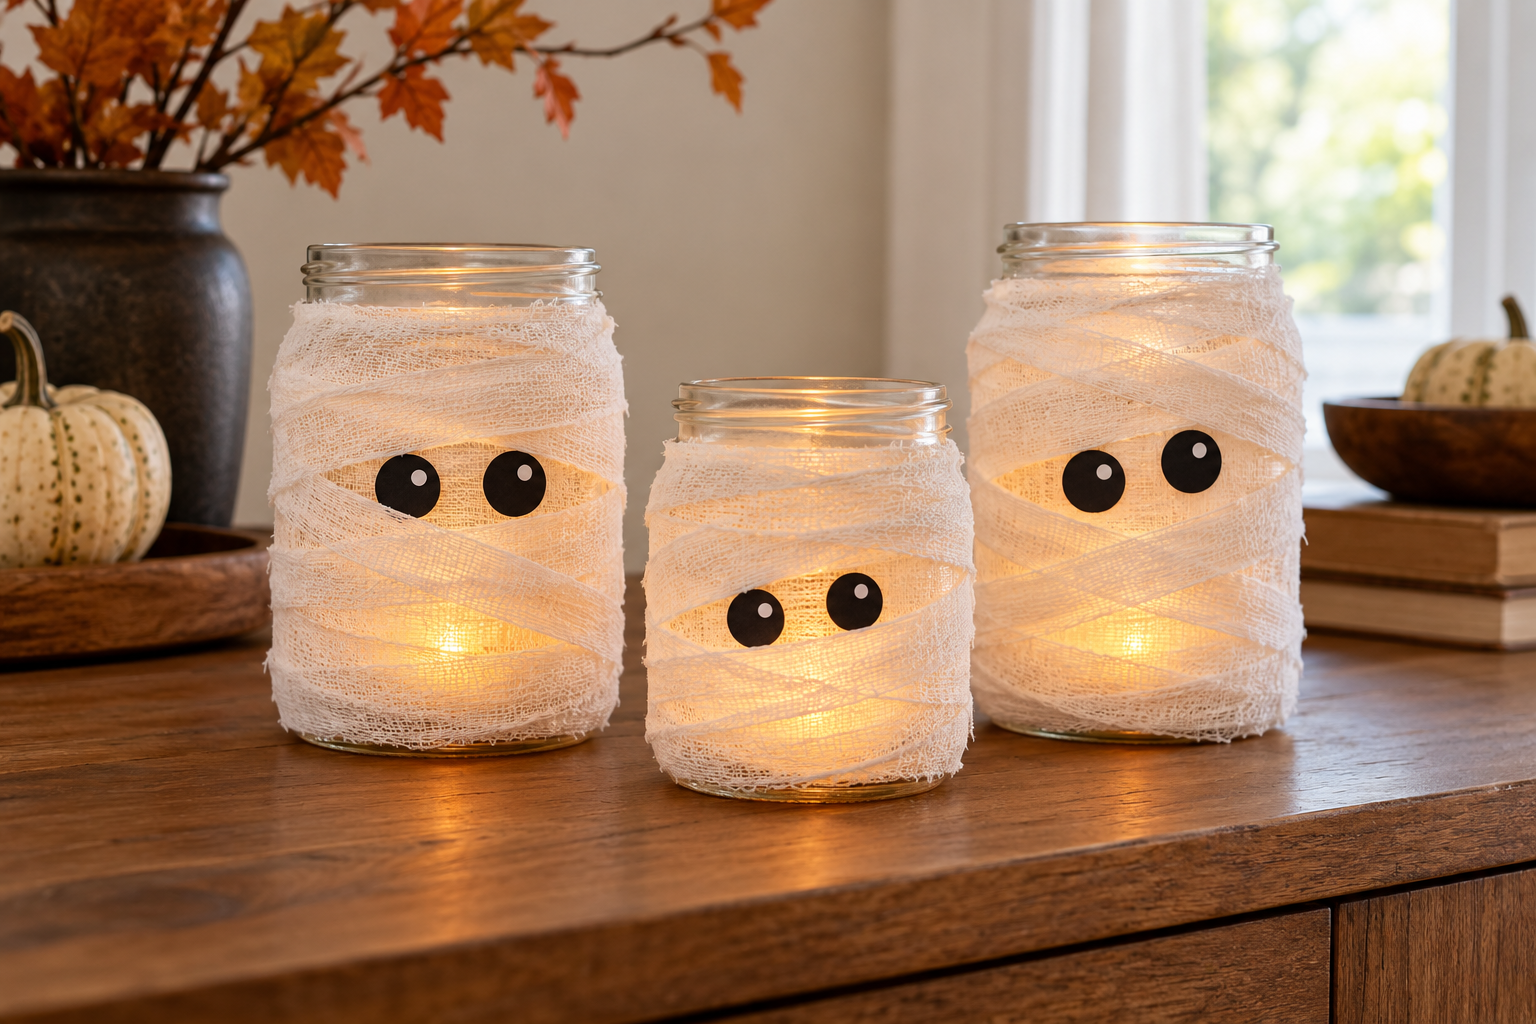
These little characters suit an entry table or a living-room shelf. Different jar heights help the group feel collected rather than perfectly matched.
Supplies: Three clean, dry glass jars without chips, white gauze or bandage strips, craft glue, black paper, scissors and battery LED tea lights with secure battery compartments.
Step 1: Prepare the jars
Remove labels, wash the jars and dry them completely. Check the rims for damage. Protect your work surface before applying glue.
Step 2: Wrap loose bands of gauze
Secure one end of the gauze near the bottom with a small amount of glue. Wrap it upward in overlapping, slightly angled bands. Leave a thinner section near the upper third for the eyes, and keep the top opening clear.
Step 3: Give each mummy a face
Glue two black paper circles onto the front. Tuck another narrow strip of gauze across their lower edge so the eyes appear to peek out between bandages. Let the glue dry according to its label.
Step 4: Add the glow
Switch on the LED tea lights and place one inside each jar. Group the jars on a stable tray, with the tallest jar behind the smaller ones. Keep glass jars and batteries out of children’s reach.
Styling tip: Leave the surrounding space fairly clear. The gauze texture and warm light provide enough detail on their own.
4. Paint no-carve pumpkins in a soft Halloween palette
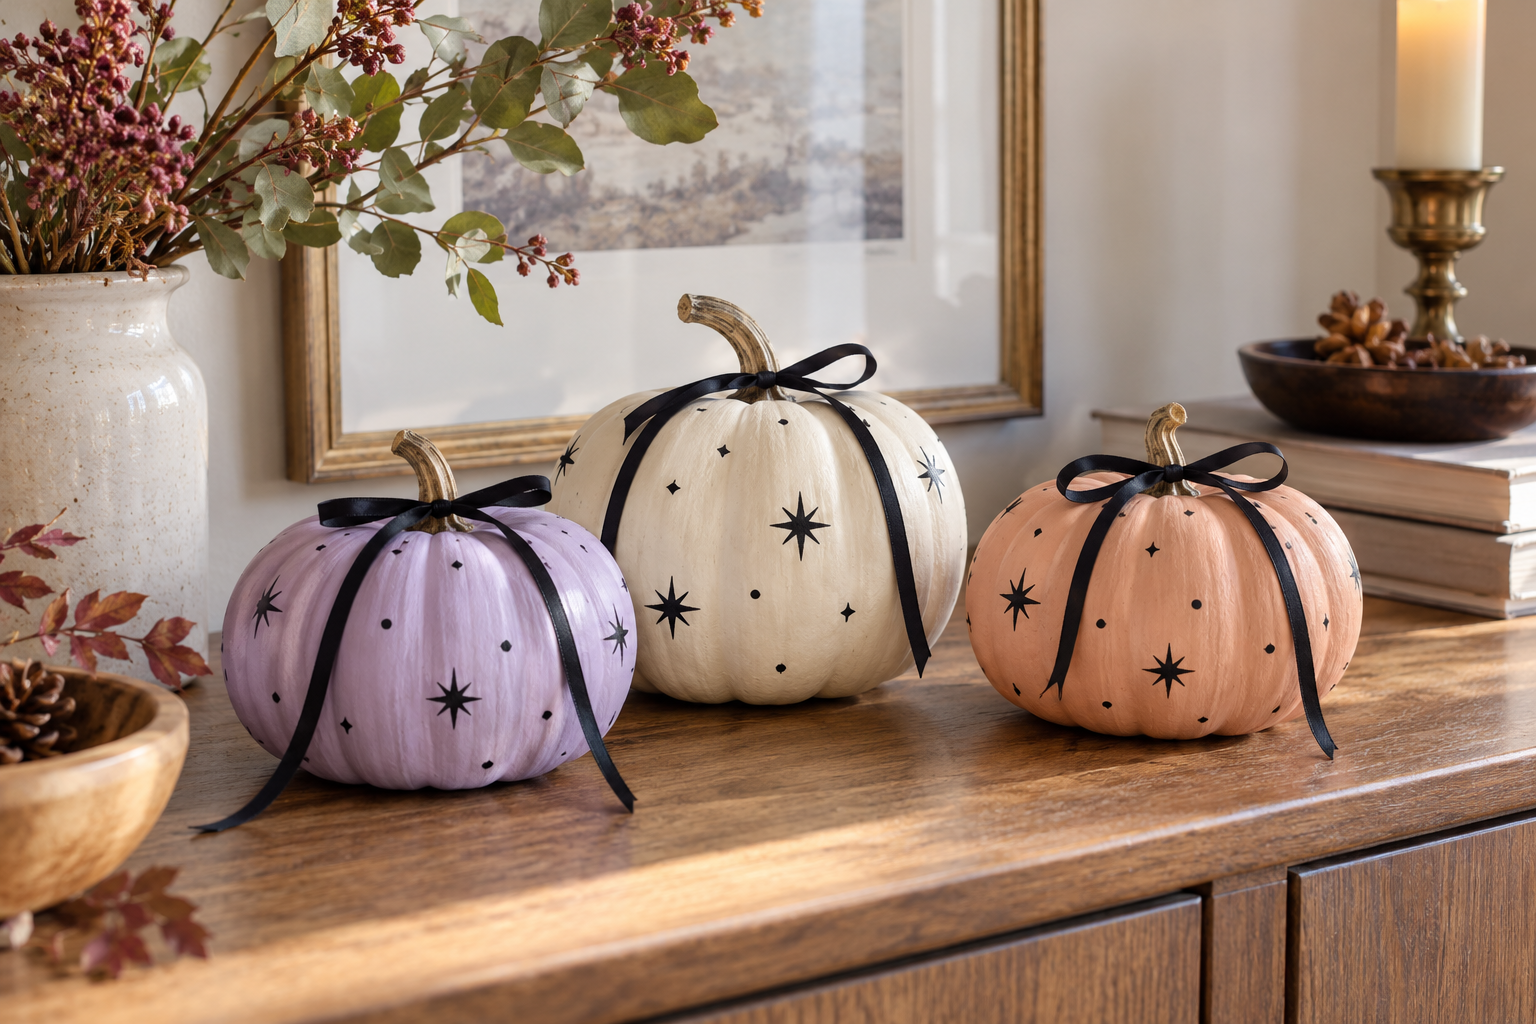
No-carve pumpkins are useful when you want a decorative display without cutting or scooping. Faux pumpkins can be packed away and reused in another arrangement next autumn.
Supplies: Three small faux pumpkins, acrylic craft paint suitable for their surface, a paintbrush, black paint or a paint marker, narrow black ribbon and a protective sheet.
Step 1: Clean and prepare the surface
Wipe the pumpkins clean and let them dry. Check the paint instructions: some glossy surfaces need a compatible primer. Cover your table before painting.
Step 2: Apply the base colours
Paint one pumpkin lilac, one cream and one peach. Use thin coats and allow each coat to dry as directed before adding another. Hold the pumpkin by its stem when practical to avoid fingerprints.
Step 3: Add dots and stars
Use the end of a small brush for dots. For a star, draw a short vertical line, a horizontal line and two diagonal lines through the same centre. Vary the size and leave some empty areas so the pattern does not become too busy.
Step 4: Finish with ribbon
When the paint is fully dry, tie a narrow ribbon around each stem. Arrange the pumpkins in a triangle, with the tallest at the back. Trim any very long ribbon tails so they sit neatly on the display.
Styling tip: Use the same lilac in your framed art or party stationery to connect the decorations across the room.
5. Create a miniature Halloween gallery
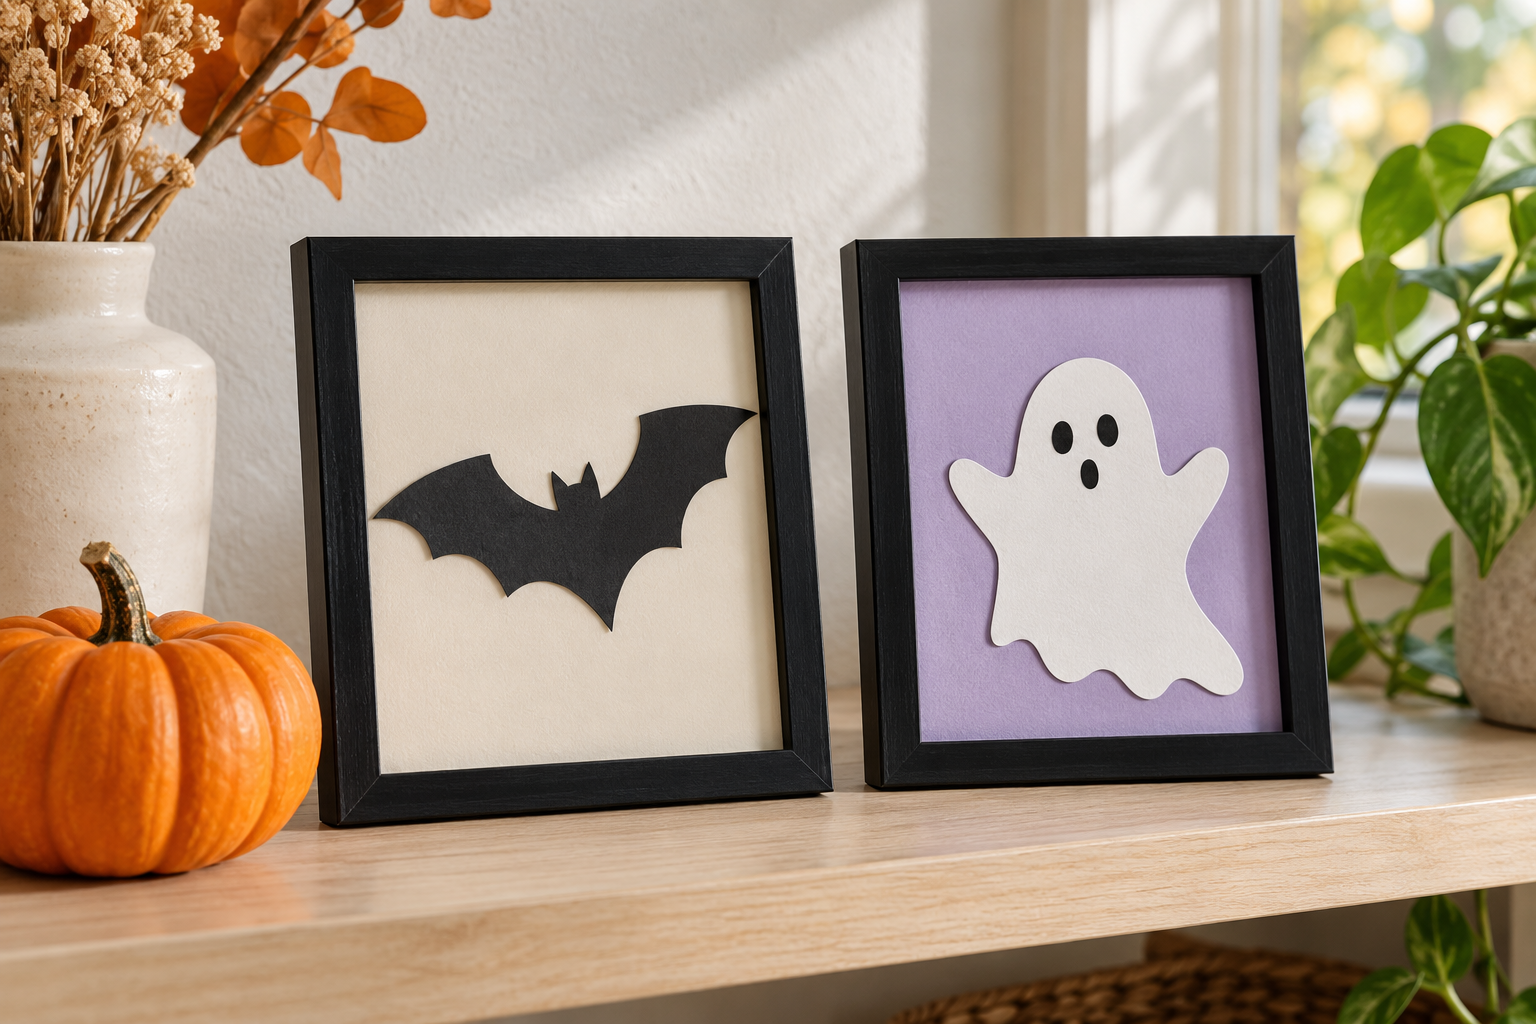
You can change the feel of a room by swapping the artwork in frames you already own. This paper-cut version needs no printer; a printable design is an optional alternative.
Supplies: Two small frames, cream and lilac backing paper, black and white cardstock, pencil, scissors, a ruler and a glue stick.
Step 1: Measure the visible opening
Remove the backing and measure the area that will be visible inside each frame. Cut the coloured papers to fit. Keep your main shapes comfortably inside that opening so the frame will not hide their edges.
Step 2: Cut your artwork
Make a black bat for the cream background and a white ghost for the lilac background. Add two black eyes and a small oval mouth to the ghost. You can reuse the templates from the first two projects at a size that suits your frames.
Step 3: Centre and secure the shapes
Position each shape before adding glue. Leave an even border of background paper around it, then attach it with a thin layer of glue. Let it dry flat before putting the backing into the frame.
Step 4: Style your mini gallery
Stand the frames securely on a shelf, with one slightly behind the other, and add a small pumpkin beside them. Keep the display away from shelf edges. If using printed artwork instead, match the print size to the frame and check the preview before printing.
Make it personal: Browse Kikliy’s PNG collection or use the design editor to create coordinating artwork. Check the selected design’s usage terms before using it for products you sell.
How to make the five decorations work together
Choose one main display area first: the entry table, a bookshelf or a sideboard. Put the bat wall or garland above it, then place a small group of jars or pumpkins below. Repeat two or three colours and leave some surfaces empty. A few connected details usually feel more balanced than filling every available space.
If you are hosting friends, carry those colours into your Halloween party invitations. You can also read our Halloween party decor ideas for ways to build a larger celebration around your handmade pieces.
Frequently asked questions
What is an easy indoor Halloween decoration to start with?
Try the paper ghost garland. It uses a small set of materials, does not need paint to dry and can be sized to fit a single shelf.
How can I decorate a small room for Halloween?
Use vertical space with paper bats or a short garland, then add one small tabletop display. Keep walkways, doors and everyday surfaces clear.
Can I make these decorations without a printer?
Yes. All five projects can be made by drawing and cutting shapes yourself. Printable artwork is only an optional alternative for the framed display.
How should I store handmade Halloween decor?
Place paper decorations flat between sheets of clean paper in a dry box. Wrap the jars separately, store painted pumpkins only when fully dry, and remove batteries from lights before long-term storage according to the light manufacturer’s instructions.
Start with the project that suits the space you already have. A single curve of bats or a shelf of friendly ghosts can bring Halloween indoors without turning decorating into a large project.
← All stories · Explore invitations