How to Design an Invitation: A Step-by-Step Guide
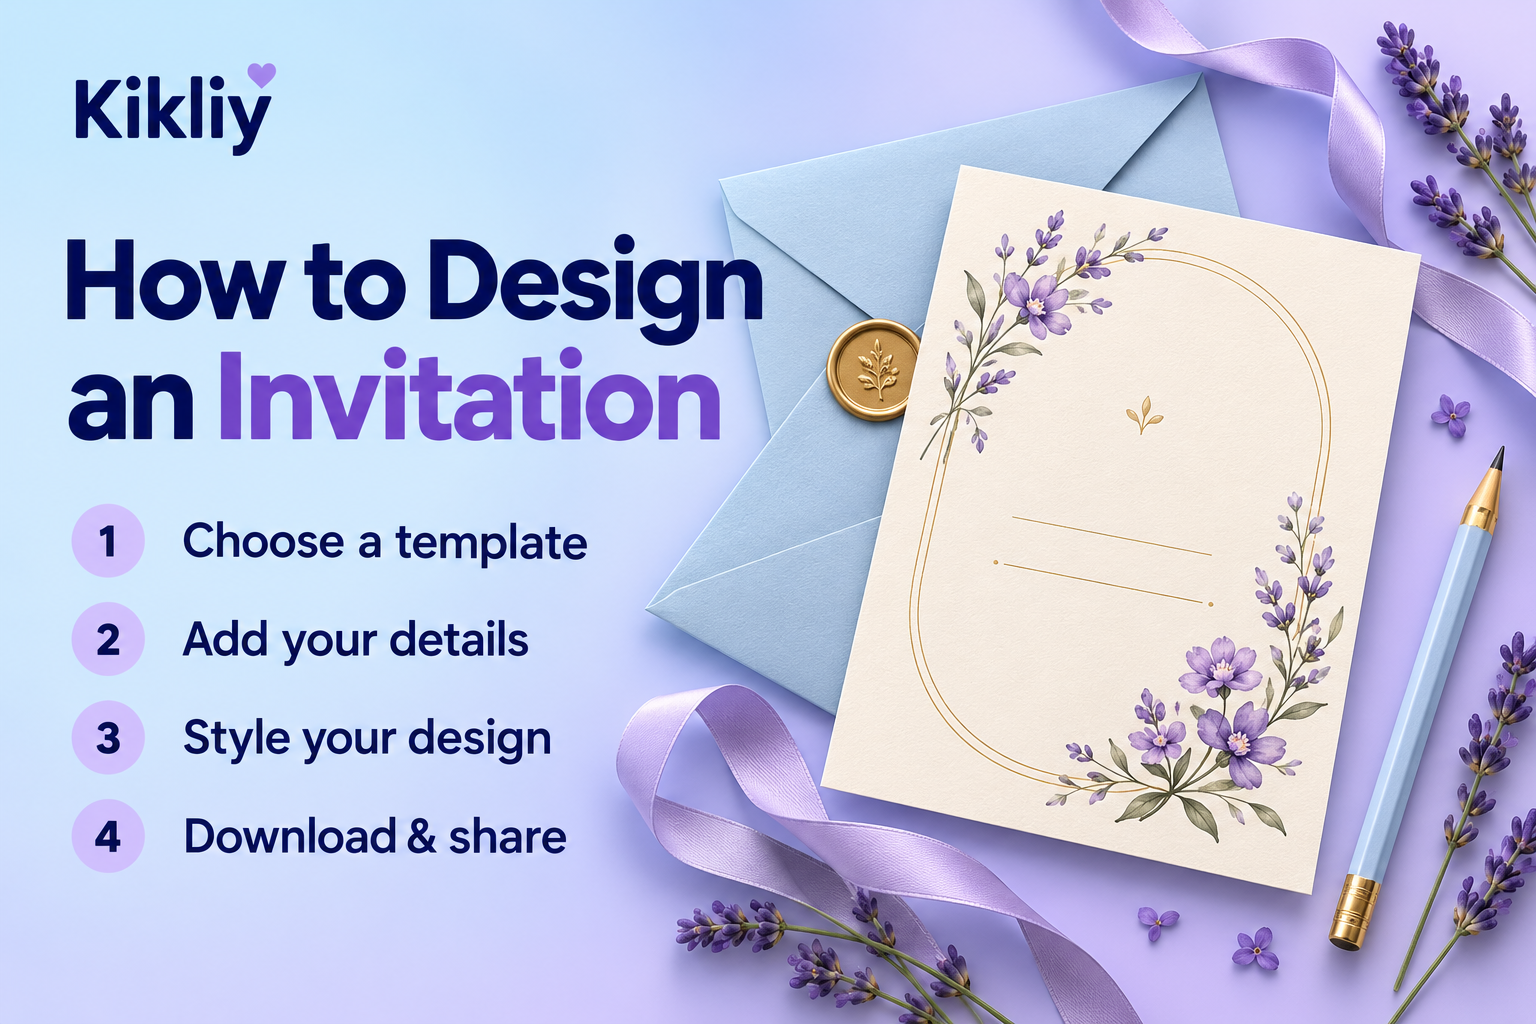
Learning how to design an invitation starts with a simple question: what should your guests know, and how should the celebration feel? A beautiful card needs both personality and clear information. You do not need a complicated layout to get there.
This beginner-friendly guide walks you through choosing an editable invitation template, adding your details, styling the design and preparing a digital or printable invitation. Use it for a birthday party, baby shower, wedding celebration or a relaxed gathering at home.
What should an invitation include?
Write your event details before choosing fonts or decorations. Keeping the wording ready makes it easier to pick a template with enough space.
- The occasion and the name of the person or people being celebrated.
- The date, start time and end time if guests need one.
- The venue name and full address, or joining instructions for an online event.
- An RSVP method and reply-by date.
- Any useful details, such as dress code, parking or what guests should bring.
For online celebrations, include the time zone. If you are sharing an invitation publicly, keep private addresses and personal contact details out of the public version.
Step 1: Choose an invitation template and size
Start by deciding whether you will send your invitation on a phone, print it, or do both. Then browse Kikliy’s editable invitation templates for a layout that suits your occasion. Check each item’s description and Free or Paid label before choosing it.
A portrait 5 × 7 inch invitation is a practical starting point for many printed cards. If you are printing, check your envelope size and your printer’s requirements first. For digital invitations, a portrait layout usually leaves enough room for a headline, event details and a small illustration without making the text tiny.
Choose a template for its structure as well as its artwork. A design with a short title may not comfortably fit a long name. A wedding invitation with several venues needs more space than a simple birthday invitation. If you prefer a blank page, open the design editor and build your own layout.
Step 2: Add your event details
Replace the sample wording with your own information, working from the most important detail down. Make the occasion or guest of honour the main heading. Place the date and time together, followed by the venue and RSVP details.
Keep sentences short. “Join us for Maya’s birthday” is easier to scan than a long introductory paragraph. Put additional information in a separate message if it does not need to appear on the invitation itself.
A birthday invitation wording example
You’re invited to Maya’s 7th birthday!
Saturday, 14 November 2026
2:00–4:00 p.m.
At our home — address shared with invited guests
Please RSVP to the host by 7 November.
Come ready for games, cake and a little creativity!
This is sample wording: replace every detail before sending. For a baby shower, swap the birthday headline for the parents’ names and shower details. For a wedding, confirm the exact ceremony and reception information with both hosts before finalising the text.
Step 3: Style your fonts and colours
Try one expressive font for the headline and one simple font for the event details. A decorative script can look lovely on a name, but a clear font is easier to read for an address or RSVP deadline. Using fewer fonts also helps the invitation feel coordinated.
Choose a small colour palette: one background colour, a darker text colour and one accent. For example, a pale lilac background with navy writing and soft blue details creates a gentle celebration theme. A cream background with deep green text works well with floral artwork.
Check the contrast at the size guests will actually see. Pale yellow writing on white may look delicate in the editor but be difficult to read on a phone. If your background is busy, place the details on a plain area rather than adding more effects.
Step 4: Add illustrations and balance the layout
Use a few decorations that match the event. Balloons can frame a birthday headline; small flowers can sit in the corners of a shower invitation. Browse transparent PNGs and clipart for a finishing detail, and check the item’s usage terms before using it.
Leave clear space around the text. Keep decorative elements away from the date, address and RSVP line. Align related details consistently, and give each group a little breathing room. If the card feels crowded, remove one decoration before making all the text smaller.
Remember that an illustration saved as a flat PNG is one image. Words already printed inside that image cannot be edited as separate text. Choose an editable template or add new text layers when you need to personalise the wording.
Step 5: Check the invitation before downloading
Read the card once for accuracy and once for appearance. Ask another person to check the date and location if possible: familiar details are easy to overlook.
- Are all names spelled correctly?
- Do the weekday, date and time agree?
- Is the venue information complete?
- Is the RSVP method clear and the deadline correct?
- Is every line readable on a phone without zooming?
- Are text and important artwork safely inside the edges?
- Have all sample names and placeholder details been removed?
For printable invitations, make one test print before ordering or printing the full batch. Screen colours can look different on paper, and a test copy helps you catch small text or unexpected trimming.
Step 6: Download and share your invitation
Choose the file format that matches your next step. PNG is useful for crisp text and graphic artwork shared as an image. JPG can be useful when a smaller image file is needed, although compression may soften fine details. If PDF export is available, ask your print provider whether that is their preferred format.
For a 5 × 7 inch raster design printed at 300 pixels per inch, the artwork needs 1500 × 2100 pixels before any additional bleed. Simply enlarging a small image does not restore lost detail. Follow your printer’s specifications for bleed, crop marks and colour handling.
Open the downloaded file before sending it. Send a test copy to yourself to check how it appears in your chosen messaging app. Some apps compress images; sending the original as a file or document may preserve more detail. Add the key event information in the message too, so guests can easily copy the address or RSVP details.
Frequently asked questions
How can I design an invitation online as a beginner?
Start with an editable template that matches your event. Replace the sample text, choose a simple font pairing, adjust the colours and check the finished card before downloading. You can add more decoration once the information is easy to read.
Can I make a digital invitation and print it later?
Yes, if you start with a suitable print size and enough image resolution. Check the print provider’s requirements before designing, and keep an editable version so you can adjust spacing or trim margins later.
What is the best font for an invitation?
There is no single best font for every event. Choose a headline style that fits the occasion and a readable font for practical details. Avoid using elaborate script for the whole card.
Can I make an invitation for free?
You can start with a template labelled Free. Check the individual item’s description, download options and usage terms; not every template or asset has the same conditions.
Make your next invitation your own
Begin with the details, choose a clear layout and add just enough decoration to set the mood. Explore invitation templates or create your own design to turn your event information into a card guests can read, save and enjoy.